
 Yahoo Autos
Building the Okay-Z400 Street Tracker - a How-to Budget Build
This all started innocently enough with my desire for a cheap and cheerful amateur dirt track bike. I wanted a Japanese parallel twin to run against old Triumphs, new Bonnevilles, and the other weirdness that shows up at hooligan class flat track racing and Hell on Wheels events. A friend who always has his ear to the ground found me this bike behind the second owners house in Burbank, where it was since at least 1989.
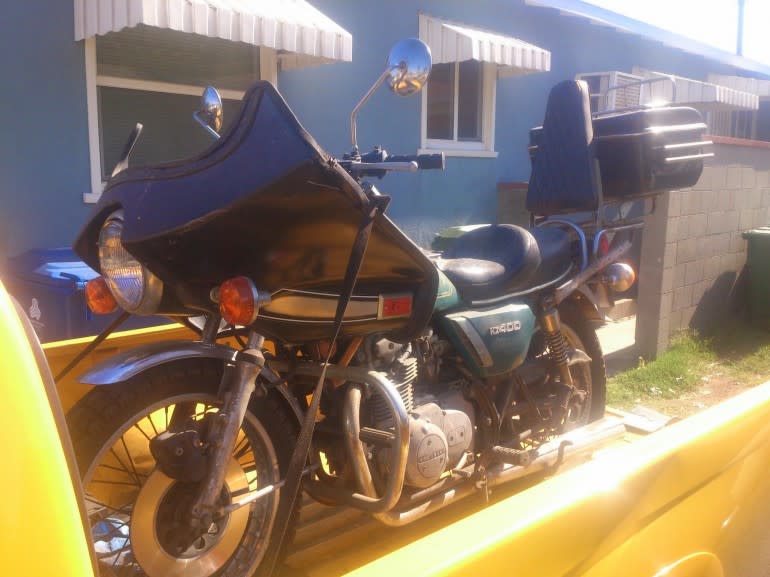
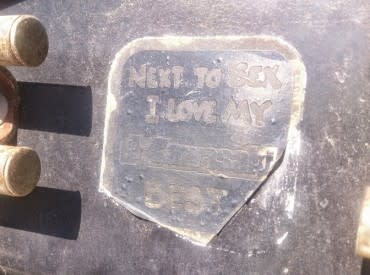
The single best part of this bike at this point (besides the come take it away price) was this sticker on the touring trunk.
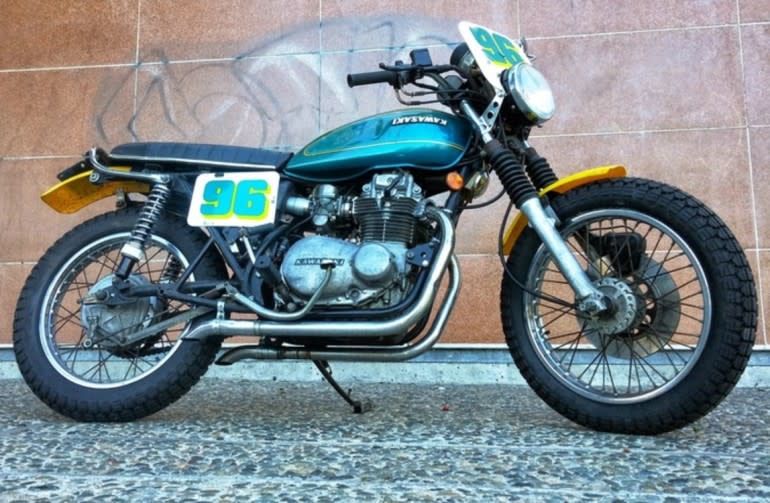
After a couple hours of labor and some washing and waxing it actually didn’t look half bad.
MUST READ: Deus Ex Machina Bike Build Off 2015 - Venice | RideApart

I’m not going to detail the mistakes I made and how I recovered, but unlike a lot of custom bikes you see online, I’m going to show you the messy in between pictures. You can learn from my mistakes later.
Freeing the Motor and New Rings
When you have a bike that is seized, or locked up from sitting, many times it’s just a small amount of rust holding everything up. Just keep repeating that to yourself over and over, like saying the rosary, it might help.
After a good 24 hour oil soak, it still wouldn't budge with the kick starter. However, using the torque multiplication of the transmission and primary drive, this one only took about 15 minutes of rocking to break free.

Luckily the KZ400 top end comes apart with the motor in the frame, which makes things easy. A Harbor Freight hone job, some new stock size rings (eBay—from Canada for some reason), and new gaskets (eBay—Japan this time, which makes sense), and it was together again.
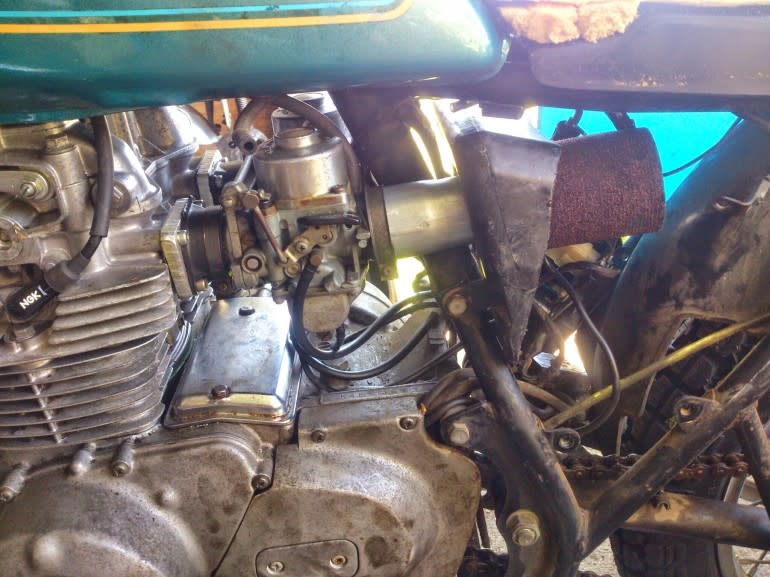
Carburetor Cleaning and Intake Boots
The next common challenge with old neglected bikes is cleaning the carburetors, and often times, replacing the rubber boots. Guys swear by ultrasonic cleaners and all sorts of chemicals, but there is no substitute for poking each hole with a proper jet/welding torch cleaner. In a pinch, a metal guitar string will do or a strand pulled out of an old wire brush.
The rubber intake boots for this are NLA—even eBay only had “good” used ones. Modern KZ1000 police bike parts, however, were similar, cheap, and widely available (thank you CHiPies!). I made an adapter plate to make up for the bolt hole mismatch and shorter length.

For air filters I went with Uni Filter foam pods. I mounted these on the exhaust pipe where the stock airbox used to be so they stay clean and can get plenty of air.
MUST READ: I Bought a Hipster Bike | RideApart
Exhaust System
I’m not a loud pipes saves lives kind of guy, but I am a cheap bastard. Since this was to be a dirt tracker (in looks anyway), I just polished the stock head pipes and made them into TT pipes—similar to early off-road and desert racers.

I installed “cheese grater” style baffles and chrome downturn tips to knock the edge off the noise. Total cost? I’d be surprised if the exhaust has $25 worth of parts in it.
Fenders and Side Covers
The side covers are go-kart number plates with professionally printed numbers. I got lucky and the color matched the old faded factory paint, so it has a real back in the day dirt track look. The plates mount to the stock location, and factory side covers can be put on in seconds.
CONTINUE READING
