
 Yahoo Autos
 Here's How You Diagnose an Engine That Won't Start
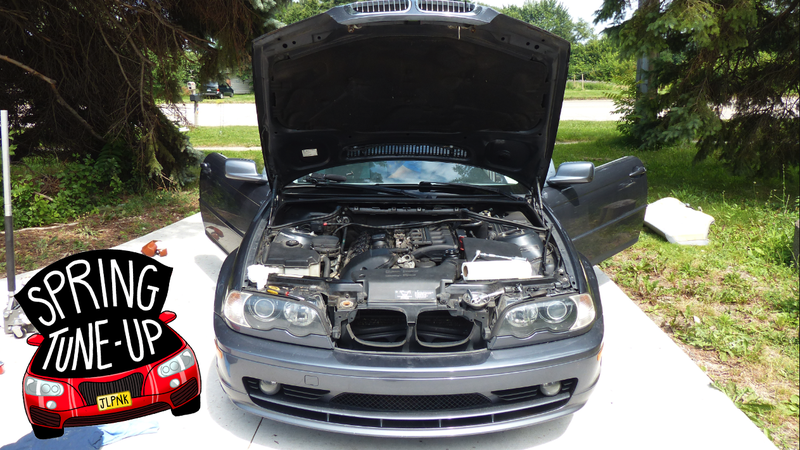
It’s springtime! Time to start working on your project car, learn a new wrenching skill, discover what everything is under the hood (and how it works), or just spruce up your daily driver. All month, we’ll be looking back at our best informative, maintenance and DIY articles from Jalopnik’s near 20-year history to get your ride ready for the road.
Every truly crappy day begins with a car that won’t start. We’ve seen it in the movies, we’ve read it in books, and that’s just how it is. So here are some simple steps you can take to nip that crappy day in the bud. Let’s figure out why the heck your car won’t run!
Read more
The four main elements needed for a running engine are: spark, air, fuel, and compression. Let’s walk through the steps we took to get his car running. Remember, these are just the basics, and while these steps apply to most cars, some vehicles may require a different diagnosing technique.
Step 1: Check For Spark

Checking for spark on an internal combustion engine is pretty simple. Plug one of the spark plugs back into its spark plug boot, and ground the body of the plug by placing the metal threaded portion against a metal part of the engine. Have a friend crank the engine with the key. Make sure there is no gasoline near the plug, and don’t hold the plug or wire with your hands. Just sit it down and watch. You should see a clear spark between the electrodes. If you don’t, then you have an electrical problem.
Our vehicle showed the nice crisp spark in the image above, so we knew our electrons were flowing properly. Note: in the image above, spark is arcing between the body of the plug and ground; this works too. Also, if you can’t get to your spark plug boots easily, you can use an inductive tool that lights up when it detects a magnetic field from current running through the plug wire.
But What Could it Be?
There are lots of reasons why you might not be getting spark. If it’s an old car, it might be your points. If it’s an old motorcycle, it could be your ignitor. You could also have a bad distributor, a bad coil pack, or even bad crankshaft and camshaft position sensors. The sensors are pretty easy to check, assuming you can get access to them.
First, though, check your fault codes with a scanner and see if anything registers. If not, break out the good ol’ multimeter and check the sensors’ resistances against the published specs. Also check your relays and fuses.
The best way to get to the bottom of your problem, though, is by starting at the spark plugs and working your way back. The plugs aren’t firing, so they’re not getting current. Next thing to check might be the distributor (if you have one). Then check the coil pack. Check to see if they’re getting power. Disconnect the connecter to the coil, and turn the engine over. If you see voltage at the connector, chances are, your coil is bad. If your coil isn’t getting current, your problem lies elsewhere.
Step 2: Check for Air
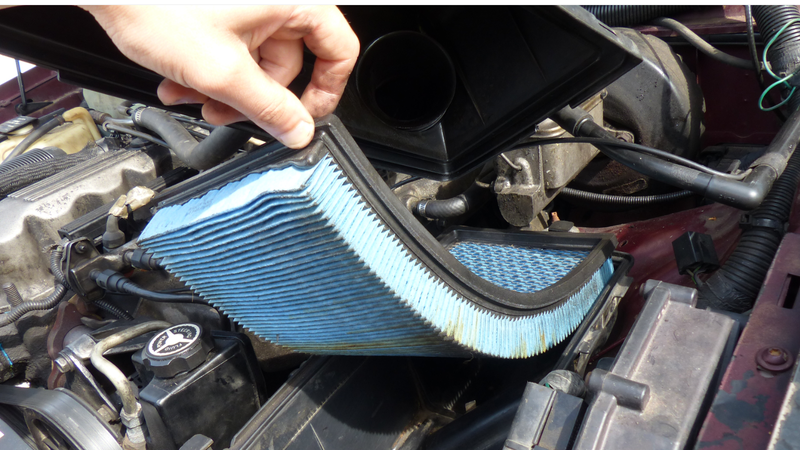
This one is simple. To make sure you’ve got plenty of clean air entering your cylinders, check your air filter and make sure it’s not clogged. You should also check any ducting or air inlets that might be filled with debris. Our air filter had just been changed, so we didn’t bother checking ours. Lack of airflow is rarely the cause of a non-firing engine.
Also check for vacuum leaks or cracks in the air induction system. This could let in too much air and prevent the engine from starting. You can check for vacuum leaks by listening. If your car fires at all, you can check for vacuum leaks by spraying a bit of starting fluid near suspected leak spots. See if the engine changes its tune. Be careful spraying that stuff near a hot engine, though.
Step 3: Check For Fuel
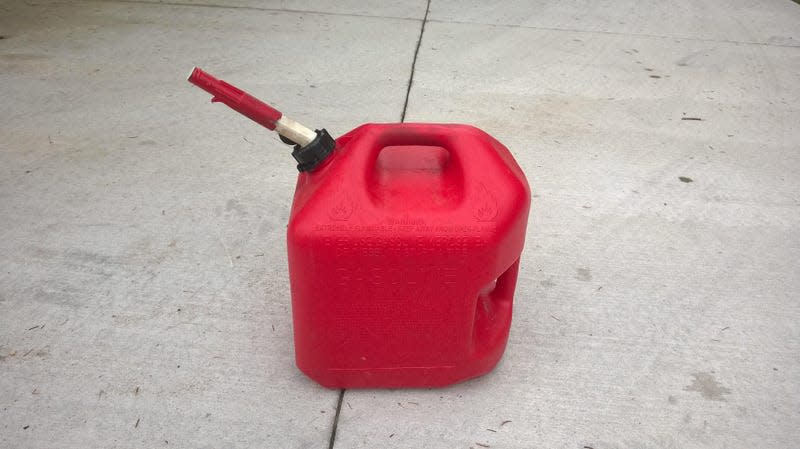
Usually, you figure out if you have a fuel delivery problem by process of elimination. If you have good spark and clean air, you’re probably not getting fuel. Some folks like using starter fluid as a check. They just spray a quick squirt of starter fluid in the throttle body while the engine is cranking and see if it fires (be careful not to spray on the MAF sensor.)
If it runs on starter fluid, then clearly your issue is fuel related. Because starter fluid can be dangerous, and because I’ve seized an engine using it, I’d recommend using process of elimination and then going through the following steps to pinpoint the issue if you think it’s a fuel problem.
But What Could It Be?
Sometimes, if your engine isn’t getting enough fuel, the culprit could be your fuel pressure regulator, a fuel leak, a clogged fuel filter, or clogged injectors. But most of the time, it’s the fuel pump. The fuel pump can usually be checked fairly easily. First, identify your fuel pump location. The fuel pump and sending unit enter the tank from above, and can be accessed either via an access panel inside the car, from the front side of the tank, or they may require the removal of the gas tank. Don’t worry about removing the tank: the goal is just to get your ear as close to that fuel pump as possible.
On the BMW 325Ci in question here, the fuel pump access panel was under the rear seat. Put your ear next to it, and have a friend turn the key to the “on” position. The fuel pump should prime for about three seconds. There should be an audible whine like the one in the video above. If not, your fuel pump may not be getting power or it may just be dead. Our pump exhibited no noise.
So, how do we check if our fuel pump is getting power? Just connect your handy dandy multimeter to the fuel pump connector, turn the key to the on position, and it should read a voltage for about three seconds (the pump receives current for a few seconds to prime the pump). Our multimeter showed that our pump was getting current from the battery. So that made us think that the pump might be the culprit.

If you’re seeing a voltage reading coming from the connector, the next thing to test would be your pump, especially if you didn’t hear the priming noise. Touch your multimeter leads on the fuel pump terminals and measure the resistance across the pump. Compare this to published values (which you can often find online). If it’s markedly different, your pump may be toast. Our pump’s resistance measurements were off from the published values, so we were suspicious that this might be our issue.
