
 Yahoo Autos
 How to Clean Your Dirty Engine Bay Without Breaking Your Car

It’s springtime! Time to start working on your project car, learn a new wrenching skill, learn how things work under the hood, or just spruce up your daily driver. All month, we’ll be looking back at our best informative, maintenance and DIY articles from Jalopnik’s near 20-year history to get your ride ready for the road. Welcome to the Jalopnik Spring Tune-Up.
I have a cluttered bedroom. To me, it’s a place where I lay down to check if there’s a new episode of Roadkill on my laptop and not much else. But my cars have to be damn near spotless. To help with that, here’s how to clean your car’s engine so the whole area under the hood is spotless. It’s not hard, but there are a few tips you’ll need to follow.
Read more
Contrary to popular belief or whatever your crazy uncle says, engines don’t need dirt or oil on them to work properly. In fact, when an engine is clean aesthetically, it can cool itself more efficiently. Less dirt and grime means less wear on things like bearings and pulleys. You’ll have an easier time spotting leaks, and there’s less chance of you sucking in dirty particulates into your air filter.
In case you missed it:
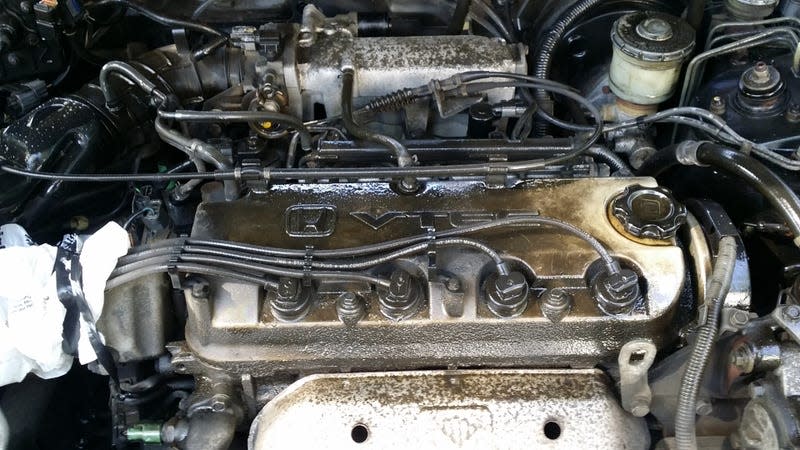
For today’s demonstration, I’m using my 1995 Honda Accord EX with 171,000 miles of dirt and debris concentrated in its engine bay. Here’s the car as I got it, in all of its oil-soaked glory:
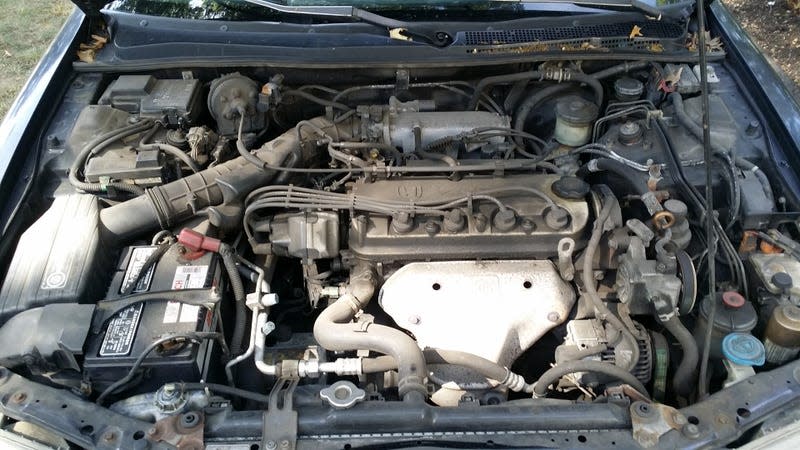


While it’s not the worst that I’ve seen, the engine bay could use bit of tidying up, especially because it’s nearly impossible to check the fluid levels with all that dirt and grime obscuring the markings on the reservoirs. That’s kind of important.
The first thing to do is to make sure you do this on a warm day, so the water can adequately evaporate. You’ll be introducing water into places where it might not have been designed to go, so the ability to dry off is essential.
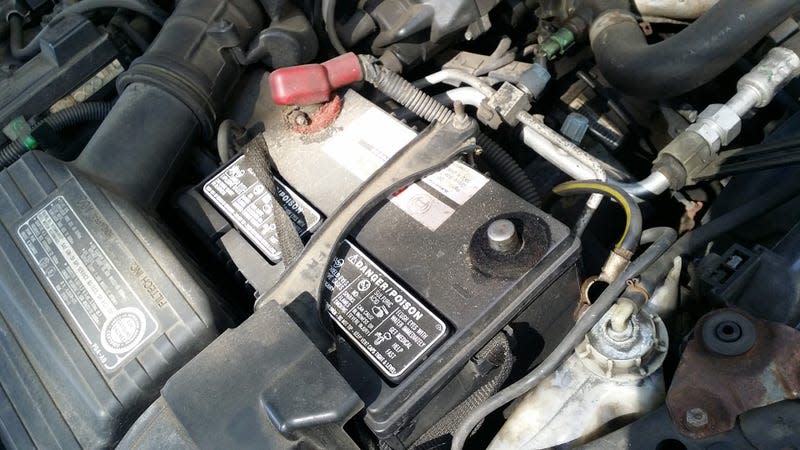
Step 1: Remove the negative battery terminal
Step 2: Spray time
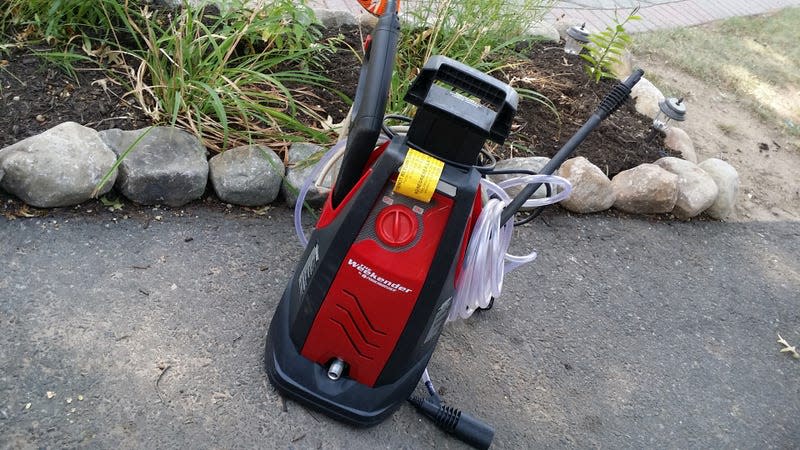
Grab a garden hose with a nozzle attachment, or if you’re fancy like me, a cheap pressure washer.
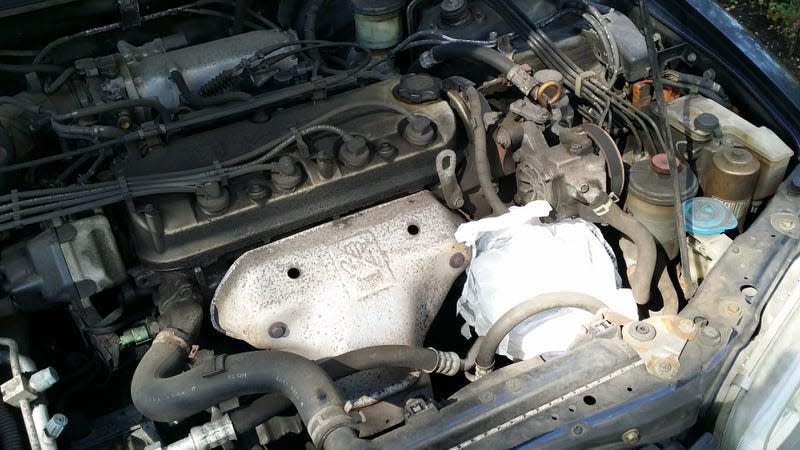
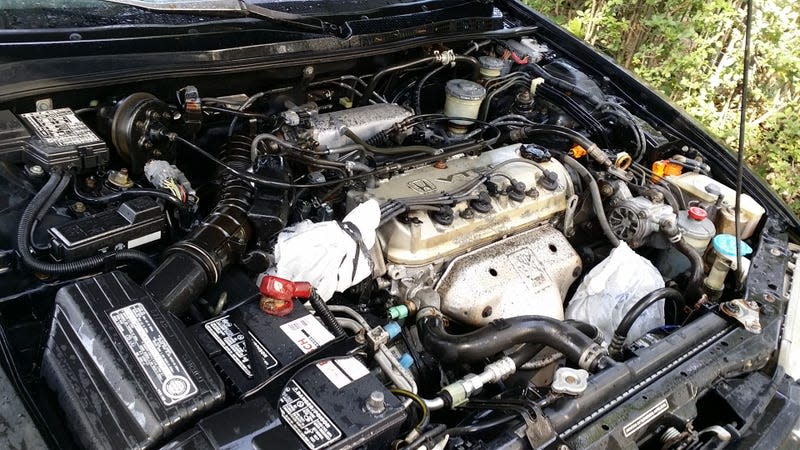
You’ll want to mask off all the sensitive electrical components — the main ones on this car being the alternator and distributor — with plastic bags and tape. Yes, these parts do get wet from time to time, like when you’re driving in the rain, but it’s best not to spray them directly with pressurized water. Remember, water conducts electricity, and I assume you’d like your car to actually run after you’re done scrubbing up the engine bay.

Step 3: Degrease!
Now you’ll want to take a degreaser like Simple Green or Purple Power, diluted 3-to-1 with water, and spray the engine bay down like you’re setting a world record for spray bottle trigger squeezing.
You can use a soft nylon brush to agitate the more caked-on grime, like around the valve cover, and you can use an aluminum brush on metal parts like the heat shields and top of the intake manifold plenum. You’ll see the dirt already lifting off. Make sure the degreaser doesn’t dry out — if you let grimy soap dry on metal, the grime will bond to the surface again, and you’ll have to scrub it all over again.

Step 4: Rinse!
Now you can start power washing or spraying down the engine bay. Work from the back to the front, hitting the firewall first.
Keep your spray moving so you don’t force too much water into one area. Your car’s engine bay is full of nooks and crannies where water can collect and not dry out easily.
Step 5: Let it dry
You can now allow the engine to air-dry while you concentrate on other things. In my Honda’s case, I used this time to deal with the corrosion on the exhaust manifold heat shield. I removed the shield, held on by three 12-mm bolts, scrubbed the surface rust off using a steel brush, and used a can of high-temp exhaust paint to refinish it. (This is optional stuff I did while I was under the hood; you can skip this.)
Step 6: Wipe off, dress up
After about half an hour of air-drying, I like to mop up any water that’s still left in the engine bay with a clean cloth. If you really want things to shine, now is the time to give your rubber items, like radiator hoses, a light coat of rubber dressing — just make sure that any detailing product you’re using is labeled safe for engine bay use. You don’t want to cause a fire.
Step 7: Reconnect that battery cable!
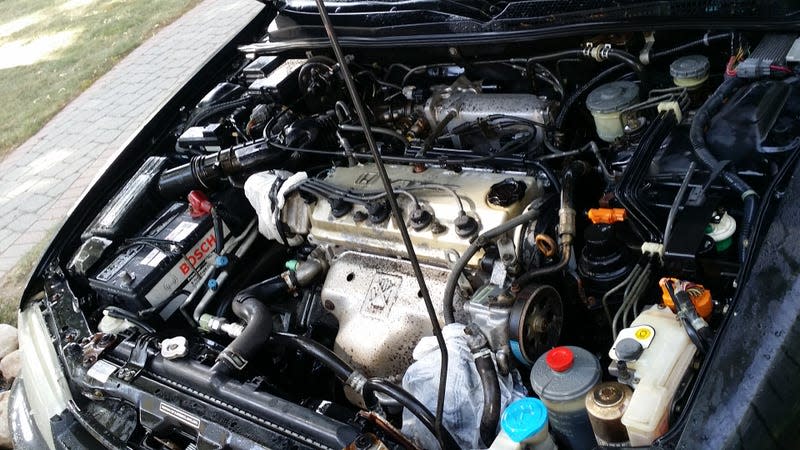
After all of that work, here’s how my Honda’s engine bay looks:

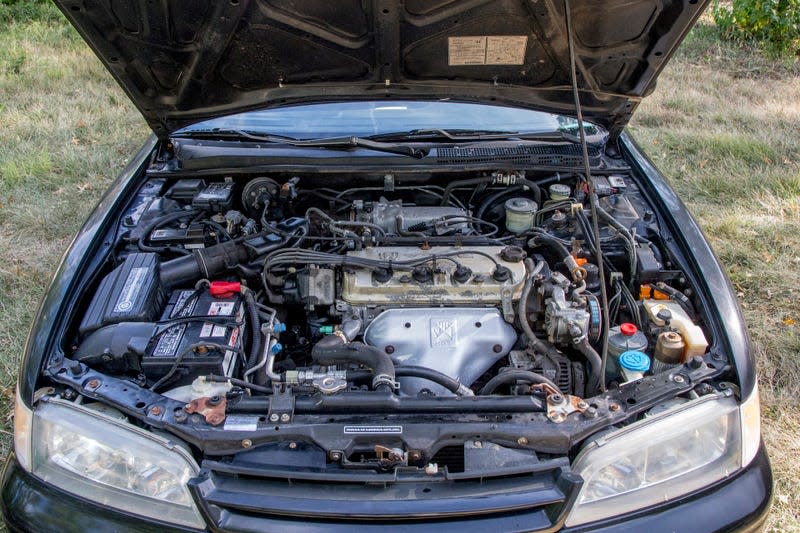
I know that my valve cover will need a fresh coat of paint in the future — years of heat-cycling have rendered the existing paint quite brittle, but that’s a project for another day.
The final result is by no means a show-car finish, as many of the metal components could stand to be refurbished, but it looks loads better than the grotty mess that awaited me when I first got this car.
The entire process took about an hour and didn’t cost anything other than some degreaser and a little bit of time. It’s possible with any car, and it would be a good bit of preventative maintenance. Take pride in your ride!
More from Jalopnik
Sign up for Jalopnik's Newsletter. For the latest news, Facebook, Twitter and Instagram.
