
 Yahoo Autos
 Handmade envelope tutorial

Why not add a personal touch to your mail this festive season? Create your own scalloped envelopes using vintage sheet music and this simple tutorial.
Good old-fashioned snail-mail has become something of a novelty in this age of emails and instant messaging, so it’s always exciting to receive something hand-written and beautifully presented in the post. Whether you’re sending out Christmas cards, New Year’s invitations or just writing a letter to a loved one, you are guaranteed to brighten anyone’s day with these handmade envelopes.
More from SheKnows
Today's Top Deals
Kids Are Loving This New Flying Orb Ball Toy & It's 50% Off Right Now
This Miracle Product Removes Just About All Pet Odors From Floors, Furniture & More
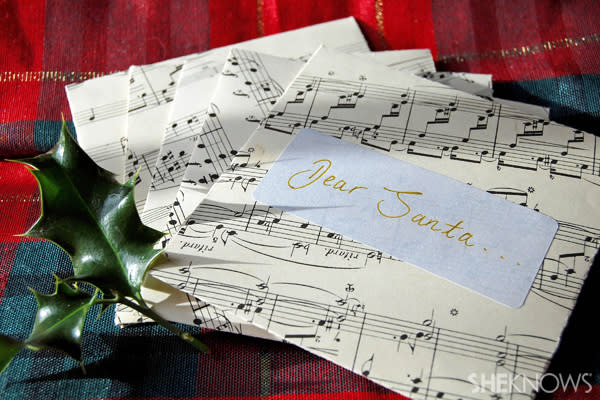
For this particular set of envelopes, I recycled sheet music. You can easily find this in charity or thrift shops, or try searching online. The possibilities are endless when it comes to your choice of materials; wallpaper samples, holiday gift wrap and old book pages are also effective. Try to find papers that have interesting colors and patterns; you could even use old photos to add a personal touch.
Click here to read the full article.
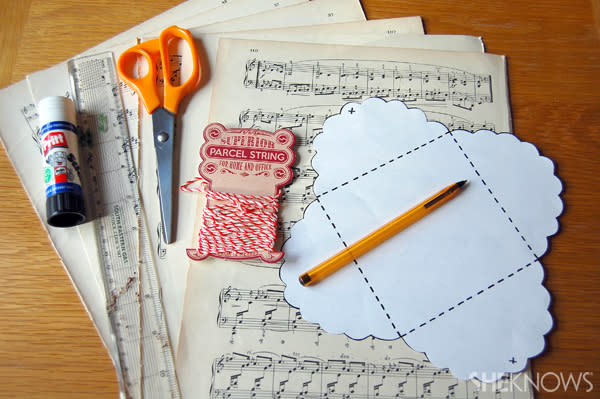
Materials:
Printable template: Click here to download and print the envelope pattern.
4 sheets of your chosen paper
Pencil
Scissors
Ruler
Hole-punch
Baker’s twine or ribbon
1
Step 1
Print out the provided template on scrap paper and cut it out.
2
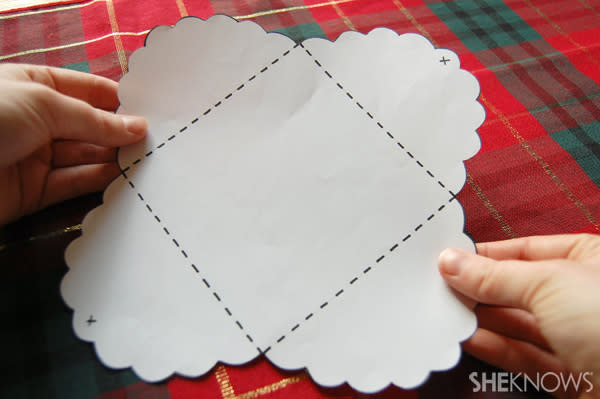
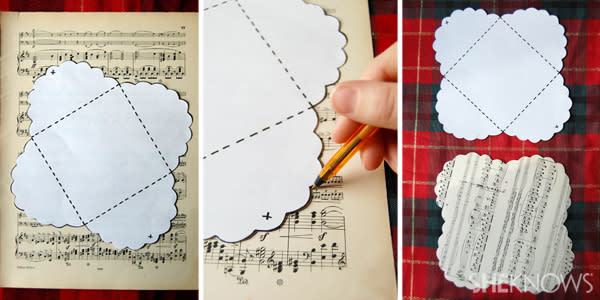
Step 2
Decide which side of your music paper you will have on the front and flip it over. Lay out your template, draw around it with a pencil and cut it out.
3
Step 3
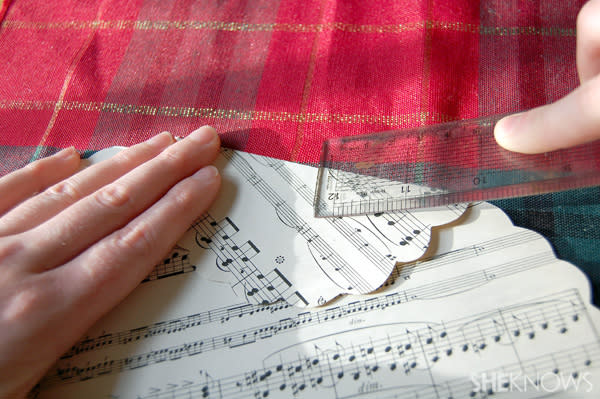
Use the ruler to create a fold along the sides of the envelope as is indicated on the template by the dotted line.
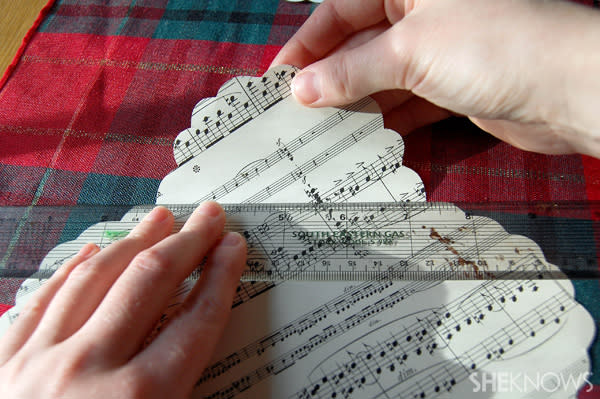
To achieve a crisp, flat line, pull the end of the ruler across the fold.
4
Step 4
Choose your top and bottom.
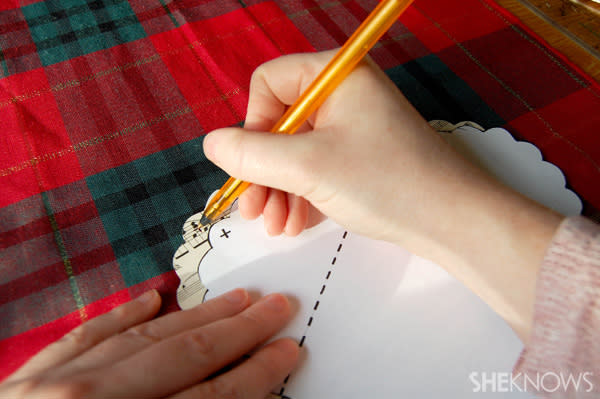
Use the guide marks on the template to mark where your holes will go, then punch through with the hole-punch.

5
Step 5
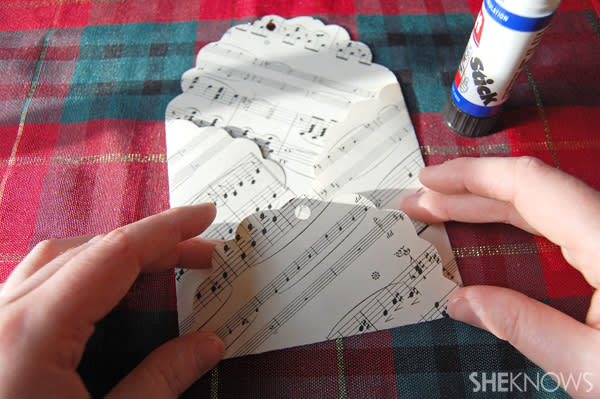
This is an optional step, depending on whether you plan to mail your envelopes or not. Apply a small amount of glue to the bottom of the side flaps and press the bottom flap firmly on top.

6
Step 6
Finally, trim a length of your chosen twine or ribbon, approximately five or six inches long, and thread it through the bottom hole.
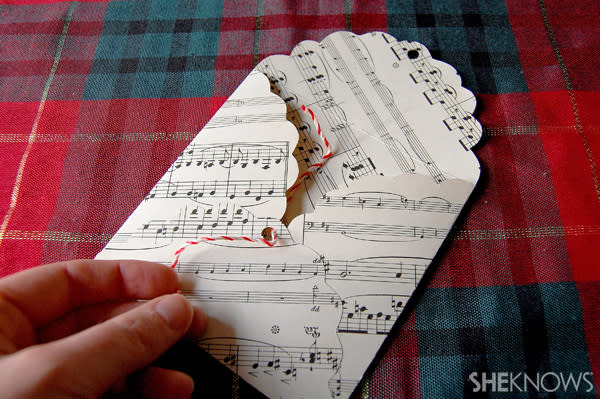
7
Step 7
Once you have filled your envelope with lovely holiday wishes, simply thread the other end of twine through the top hole and neatly tie into a bow.
If you don’t plan to post your envelopes, why not finish with a sprig of holly or mistletoe for that extra festive touch? Your loved ones are sure to be delighted!

More holiday ideas
Holiday decorating ideas for small spaces
Creative Christmas card display ideas
Edible Christmas ornaments
More Top Deals from SheKnows
Save Hundreds On These Top-Rated Insignia 4K TVs on Amazon Right Now
Internet-Famous Dash Safe-Slice Mandoline Is on a Rare Sale on Amazon
Best of SheKnows
Click here to see more up-to-date holiday deals!
Sign up for SheKnows' Newsletter.
For the latest news, follow us on Facebook, Twitter, and Instagram.
