
 Yahoo Autos
 Installing New Control Arms Into My 289,000-Mile Project M3 Was a Pain, But Worth It
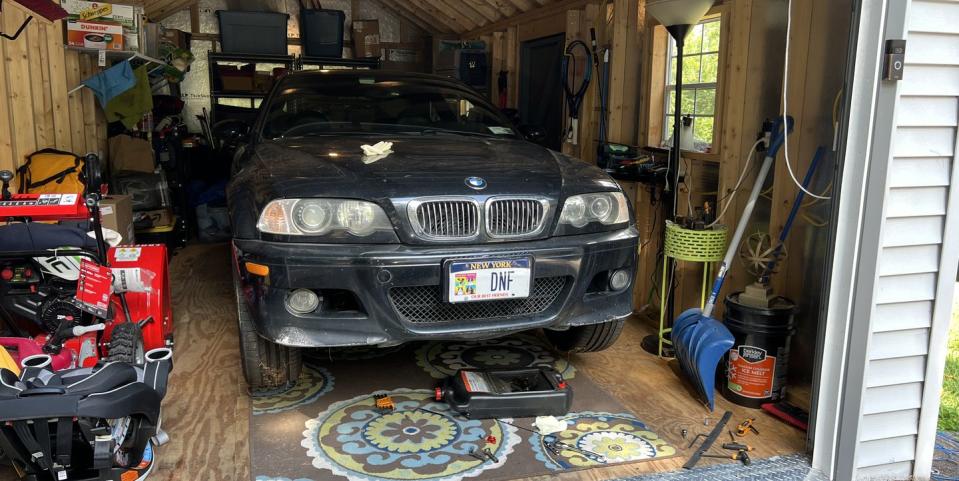
Last summer I picked up a 2002 BMW M3 coupe with an astonishing 284,000 miles on the clock. While the car was rust free and in generally good shape for the mileage, it still needed a whole bunch of things to get it driving perfectly. I’ve spent the past year upgrading and replacing suspension and drivetrain parts, and the result is a car that drives nearly like new. One of the last items on my list were front control arms. I put them off for so long because 1) I’m lazy and 2) they’re a pain to replace. Well, I finally I got around to them and I'm glad, because the front end feels a lot better as a result.
The E46 only has one control arm attached to each front hub, so there aren’t actually a lot of fasteners to worry about. All you have to do is drop the center pan under the engine and gearbox, remove two bolts from the chassis, one nut from the subframe, and another nut from the hub. With liberal use of a pickle fork even the hub connection is easy to remove. The only bolts that gave me any difficulty were the nuts that attached the arms to the subframe.
The nuts hold onto the arms from the top of the subframe, facing upwards into the engine bay. As such, they’re in incredibly awkward locations for removal, making getting a socket or wrench on them nearly impossible. The passenger-side nut took about an hour to unscrew, as I had to use a wrench to turn it 1/12th of a turn each time, as that’s all the room I had. I tried doing the same thing for the driver’s side arm, but it wouldn’t break free with a wrench, so I had to get creative.
Instead of tackling the nut from under the car, as I did with the passenger side nut, I decided to get at it from the top. So I took off the engine’s airbox and snuck in about two feet of socket extensions through the still-tight engine bay to get the nut loose. After about an hour of fiddling and experimenting with different extension sizes and ratchets, I was finally able to get that pesky nut out. Somehow it’s these simple jobs that always tend to take the longest.
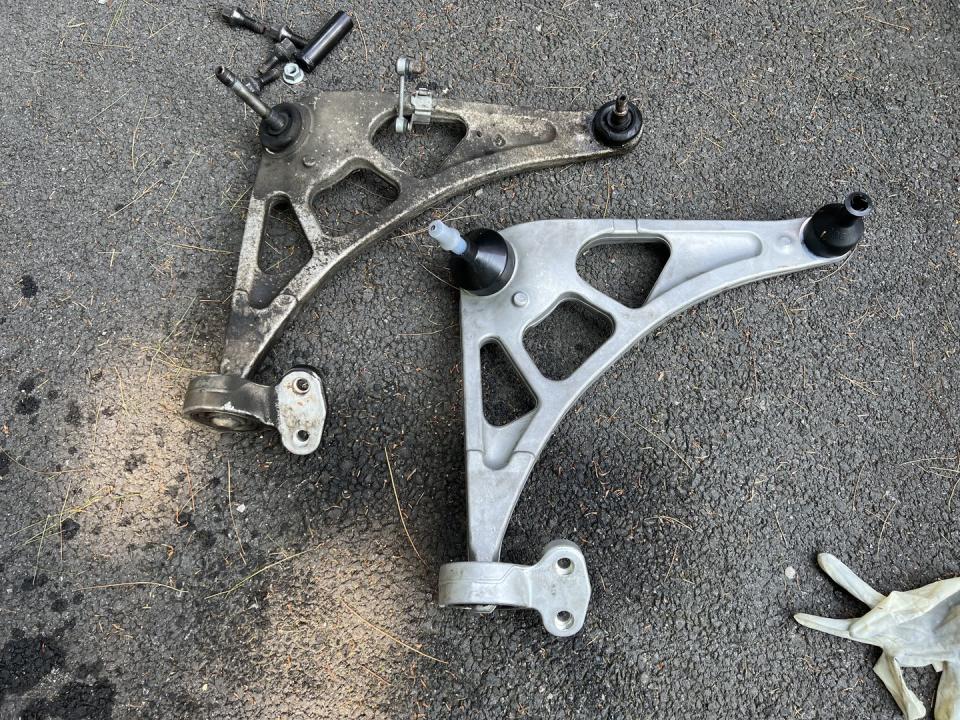
Installing the new arms, kindly supplied by the folks at FCP Euro, wasn’t nearly as headache-inducing, but it did still take a long time, as there’s just as little space for the nuts going in as there is coming out.
With its new arms, the car feels way better to drive—not surprising considering the ball joints coming off the car were ripped open and totally worn out. Now it no longer feels like the front of the car is moving around, even while going straight. It just feels like a normal car that’s fun to drive. Mission accomplished!
What’s left? There’s a light on the dash for washer fluid, not because it’s low on fluid but because there’s a hole somewhere in the system that allows it to drain out. I’m exactly sure where the problem is but I’ve never had to use the washer jets once under my ownership, so that’s low on the list. Other than that, none of the “big 3” (VANOS revamp, subframe reinforcement, rod bearings replaced) have been addressed. If I can get enough funds together, I’ll tackle that stuff. Stay tuned.
You Might Also Like
